Appium Desktop Inspector – Part 1
Getting Started
Launch Android Studio run Virtual Device Manager
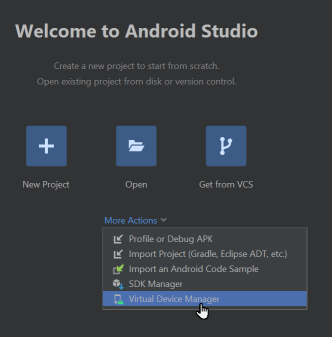
Create Device if one already does not exist.
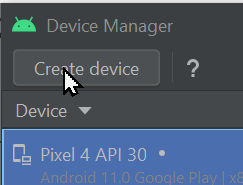
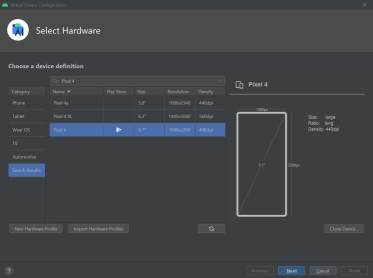
Choose Hardware
Choose System Android Image Version

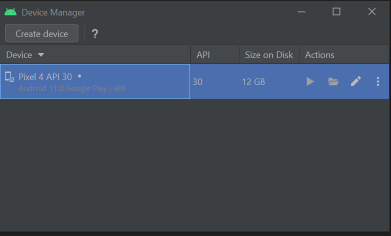
Run Pixel 4 API 30 image
Emulator Window
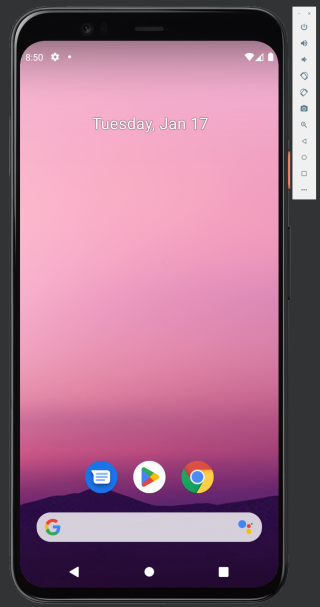
Now we can interact with virtual device
adb devices
List of devices attached
emulator-5554   device
Start Appium Server
Launch Appium Server and keep defaults
Appium Desired Capabilities Screen
Click on Start Inspector Session button (the first button with search icon) from Appium logs screen

A new Appium window will be displayed. Have a look at each of the four tabs in this window. When you select any of these tabs, then only the top section of the window changes. The bottom section, starting at Desired Capabilities stays the same way. We will only cover the Automatic Serve
Provide Desired Capability details for Automatic Server
With Appium Desktop Inspector, need to provide all the Desired Capabilities to launch app test case.
First capability, type deviceName in Name field and My Phone in Value field.
JSON Representation block shows the capability have been added.

Click on the + icon, so that a new blank row gets displayed

Add the second capability (udid and the device id)
Device ID can be found with adb devices command example device id emulator-5554
adb devices
List of devices attached
emulator-5554   device

Keep on adding new rows till you add all the capabilities or just use the completed JSON file below.

JSON file to launch Chrome
 {
  "deviceName": "My Phone",
  "udid": "emulator-5554",
  "platformName": "Android",
  "platformVersion": "11",
  "automationName": "UiAutomator2",
  "appPackage": "com.android.chrome",
  "appActivity": "com.google.android.apps.chrome.Main",
  "noReset": true
}
Change according to the Desired Capabilities….
We can use existing applications or install applications with these capabilities.
Install appliance just remove appPackage and appActivity and replace with "app": "/paht-to-app/app.apk",
To retrive appPackage and appActivity first launch application on device in this case Chrome. Connect to the device with adb shell and run dumpsys window displays.
dumpsys window windows, but in Android 10 > has been changed to dumpsys window displaysadb shell
dumpsys window displays | grep -E 'mCurrentFocus'
mCurrentFocus=Window{e262ba6 u0 com.android.chrome/com.google.android.apps.chrome.Main}
Copy com.android.chrome/com.google.android.apps.chrome.Main as followed
"appPackage": "com.android.chrome",
"appActivity": "com.google.android.apps.chrome.Main",
Start Appium Desktop Inspector
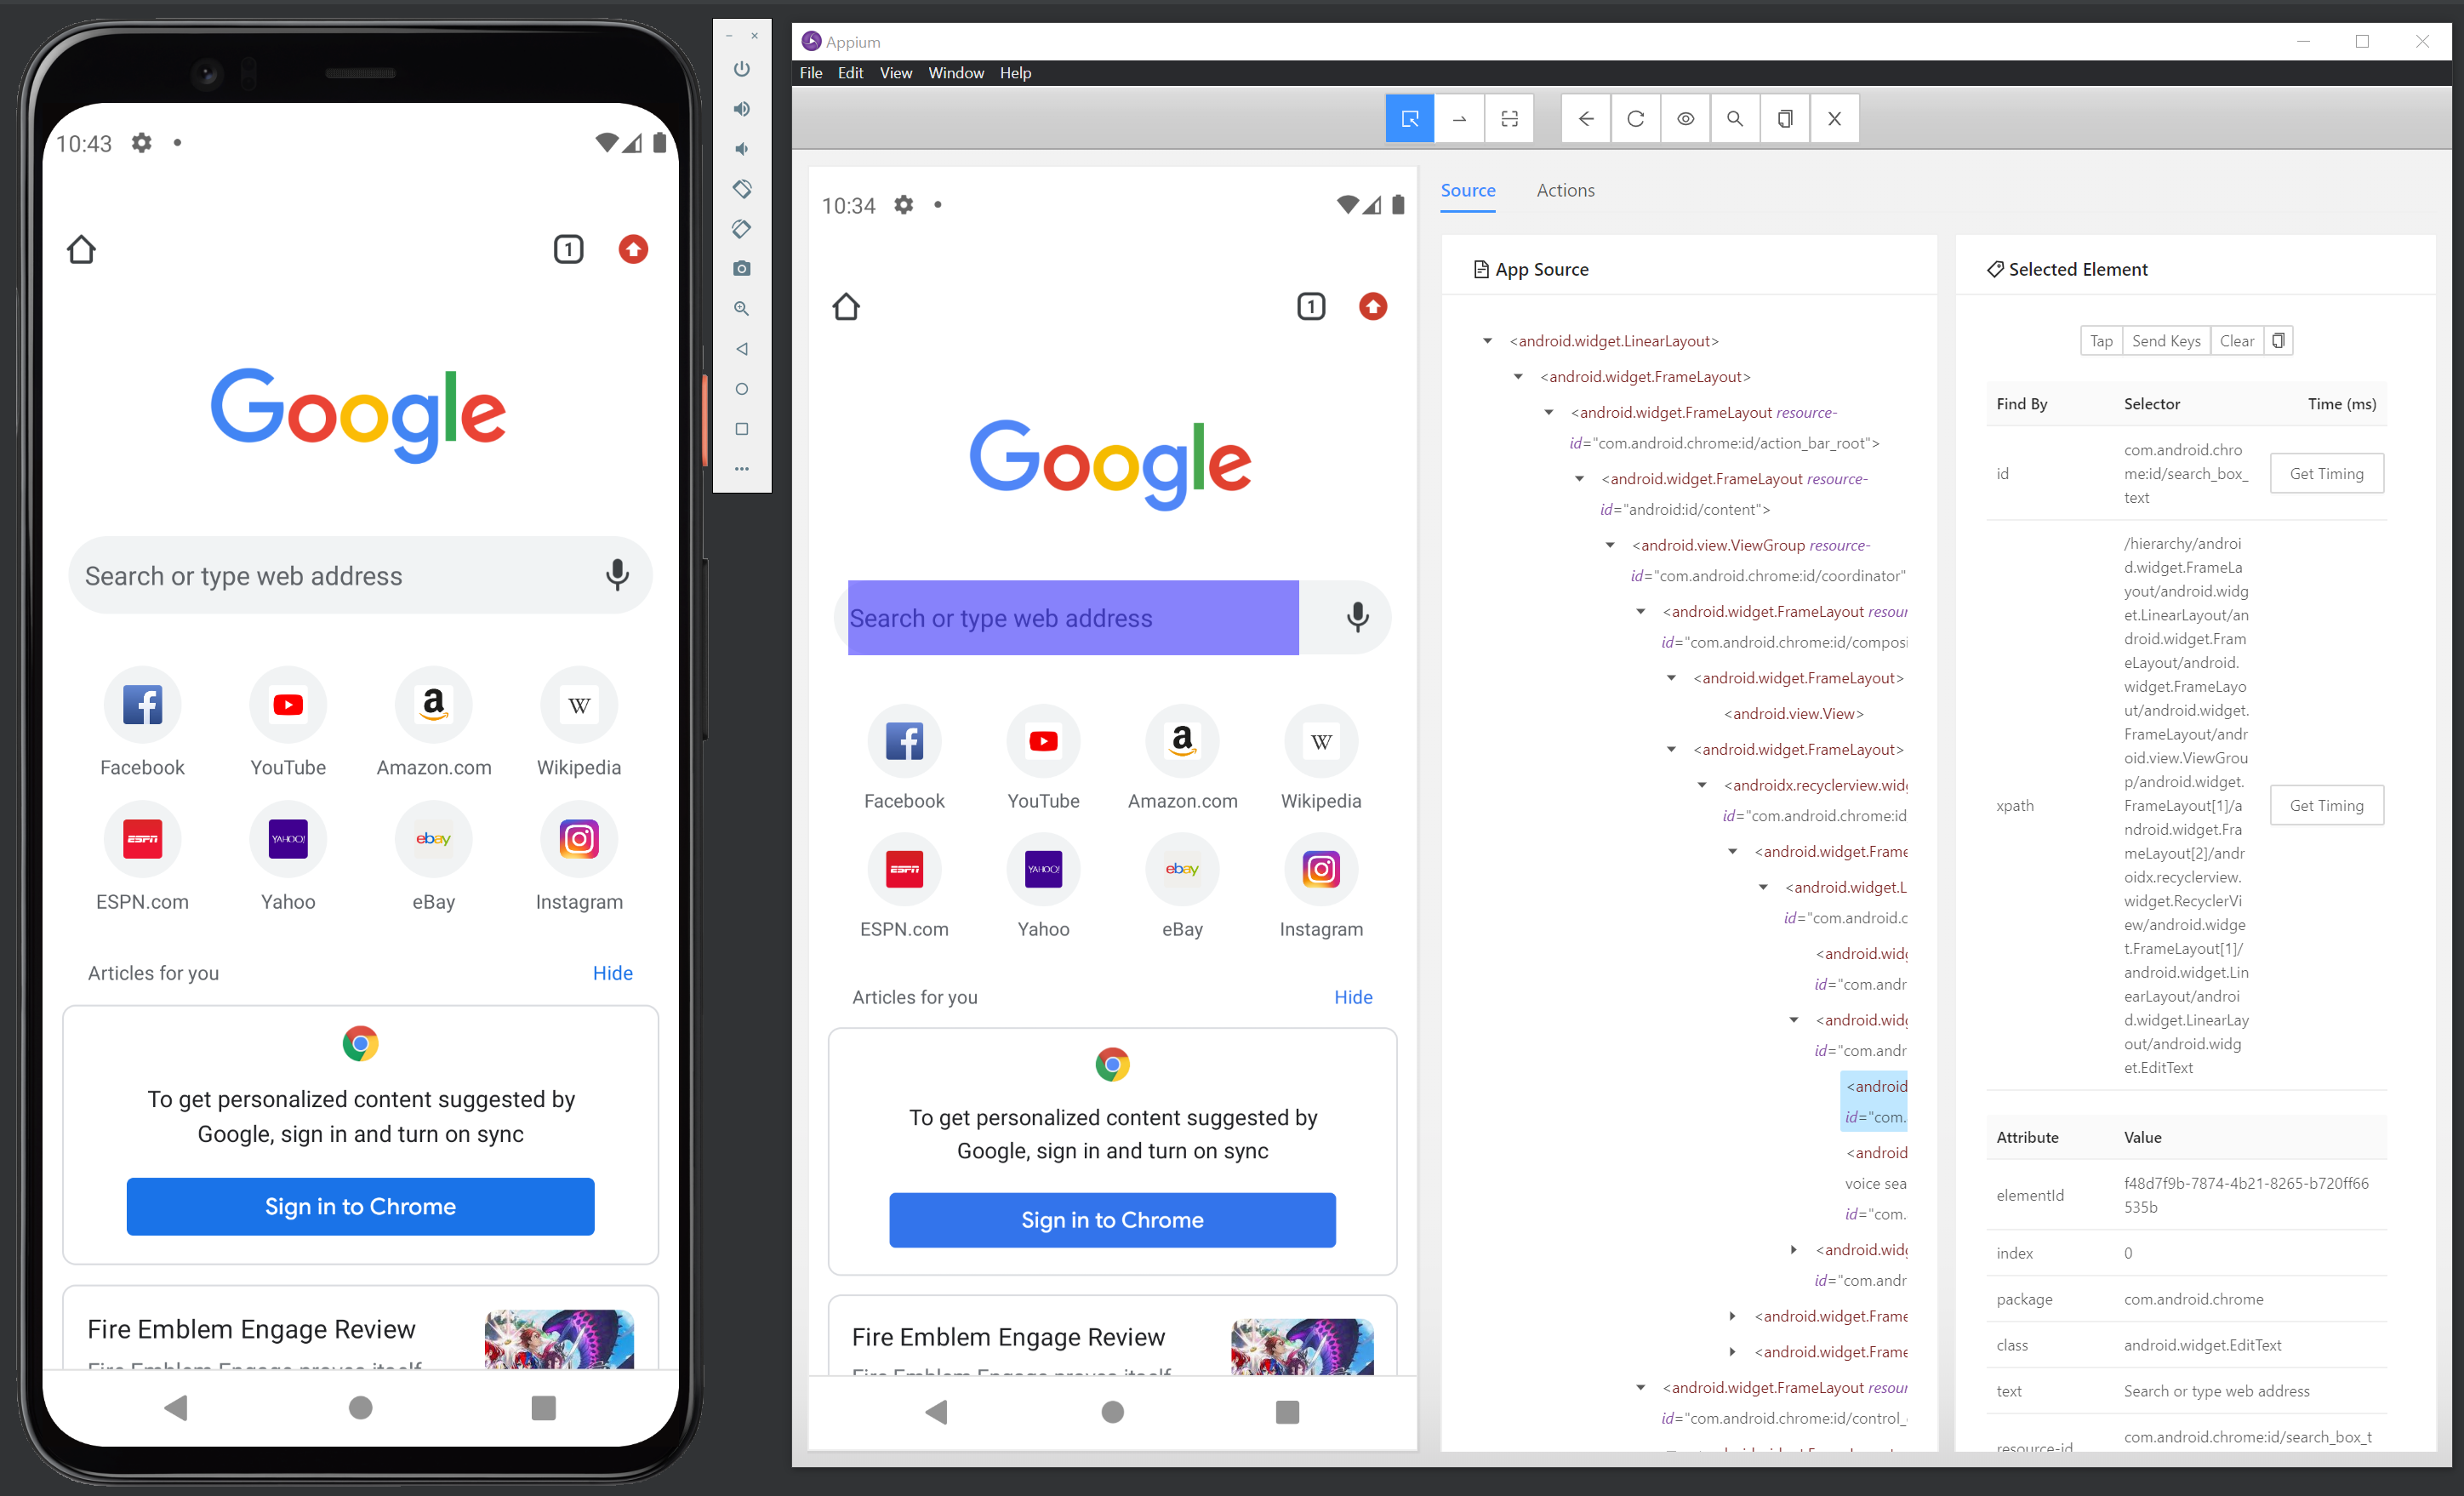
Start Appium Desktop Inspector, click on Start Session button from the Desired Capabilities tab.
Appium window will display the screenshot of Chrome app together with its Object Hierarchy Dump. Allong with Chrome being opened on the device.
Summary
We have now successfully opened Appium Desktop Inspector and this is where we will end this post. Next post will cover the mobile inspection, where we will learn about the different ways to identify mobile elements from Appium Desktop Inspector.
Next in the Series:
Related Posts
2023 Phoenix VMUG UserCon
Introduction: The recent 2023 Phoenix VMUG UserCon brought together some like-minded people in the field, with discussions ranging from VMware technologies to best practices for optimizing existing systems.
Read moreRed Hat User Group Insights, Ansible Automation Platform, and ITSM Integration
Introduction: This blog post aims to summarize the key takeaways from this informative workshop. At the recent Red Hat User Group workshop on Red Hat Insights, Red Hat Ansible Automation Platform, and their integration with management (ITSM) systems, such as ServiceNow, provided valuable insights into how these technologies work together.
Read moreRobocopy Examples
Robocopy Examples Robocopy has many command line options and it can be overwhelming to know which commands to use. In this post, we will take a look at how to ues robocopy to copy, mirror, purge Files and Folders.
Read more