Appium Desktop Inspector – Part 2
Getting Started
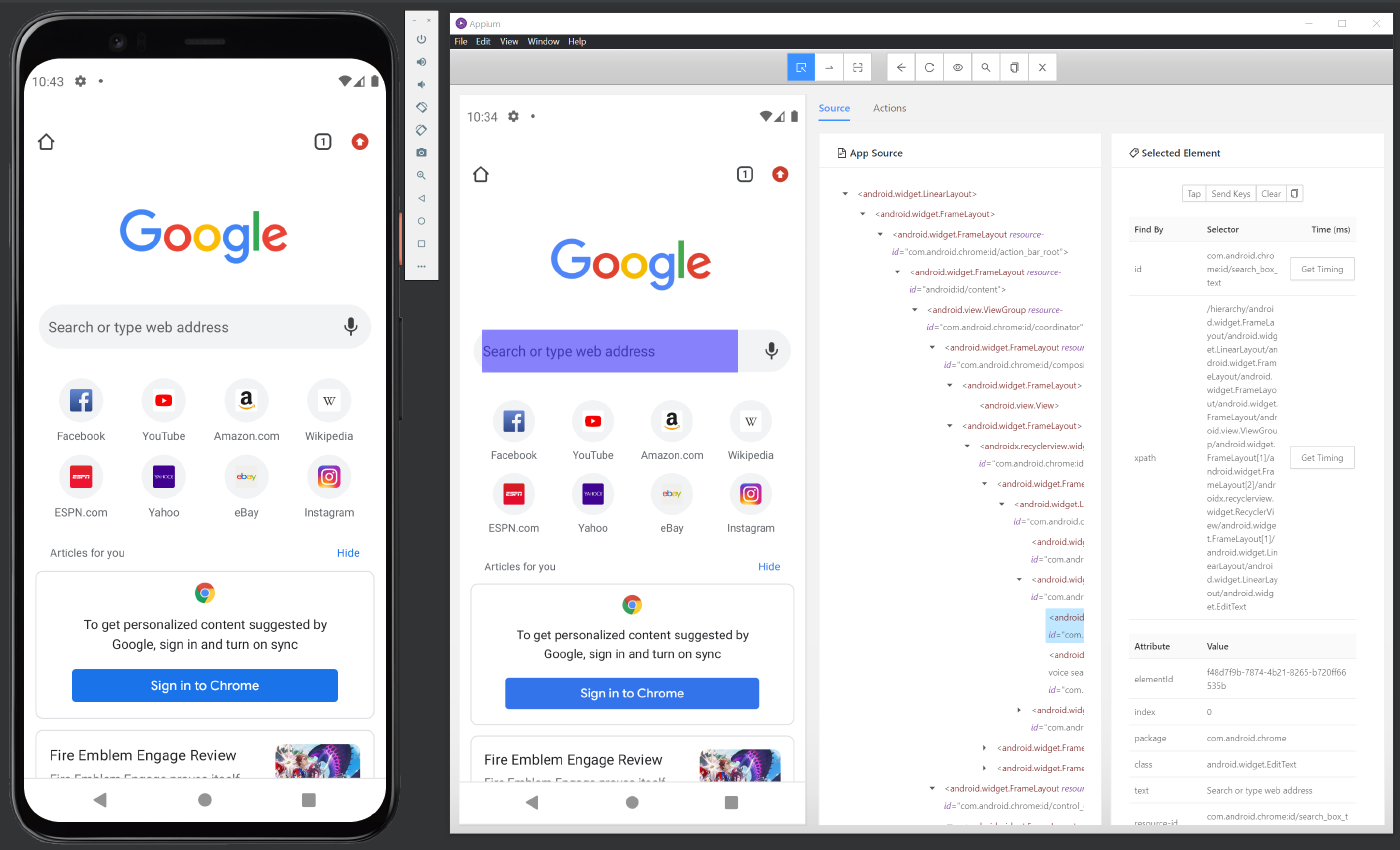
In the last post Appium Desktop Inspector – Part 1 we successfully launched Appium Desktop Inspector in this post will cover the mobile inspection to gather Object Hierarchy Dump for automating our Python script.
We will be using Desktop Inspector to identify the elements in the mobile app
- Find element by ID
- Find element by ClassName
- Find element by Tag Name
- Find element by Accessibility ID
- Find element by XPath
This steps will use Google calculator apk hosted on APKPure
Download Google calculator apk
Change /path-to-app/ were the download app.
{
  "deviceName": "My Phone",
  "udid": "emulator-5554",
  "platformName": "Android",
  "platformVersion": "11",
  "automationName": "UiAutomator2",
  "app": "/path-to-app/Calc.apk",
  "noReset": true
}
Appium Desktop Inspector
Appium Desktop Viewer has 3 panes. Object hierarchy and selected element’s details are displayed in two different panes. Appium Desktop Inspector lets you interact with the mobile app
Open Appium Desktop Inspector and launch Google Calculator app.
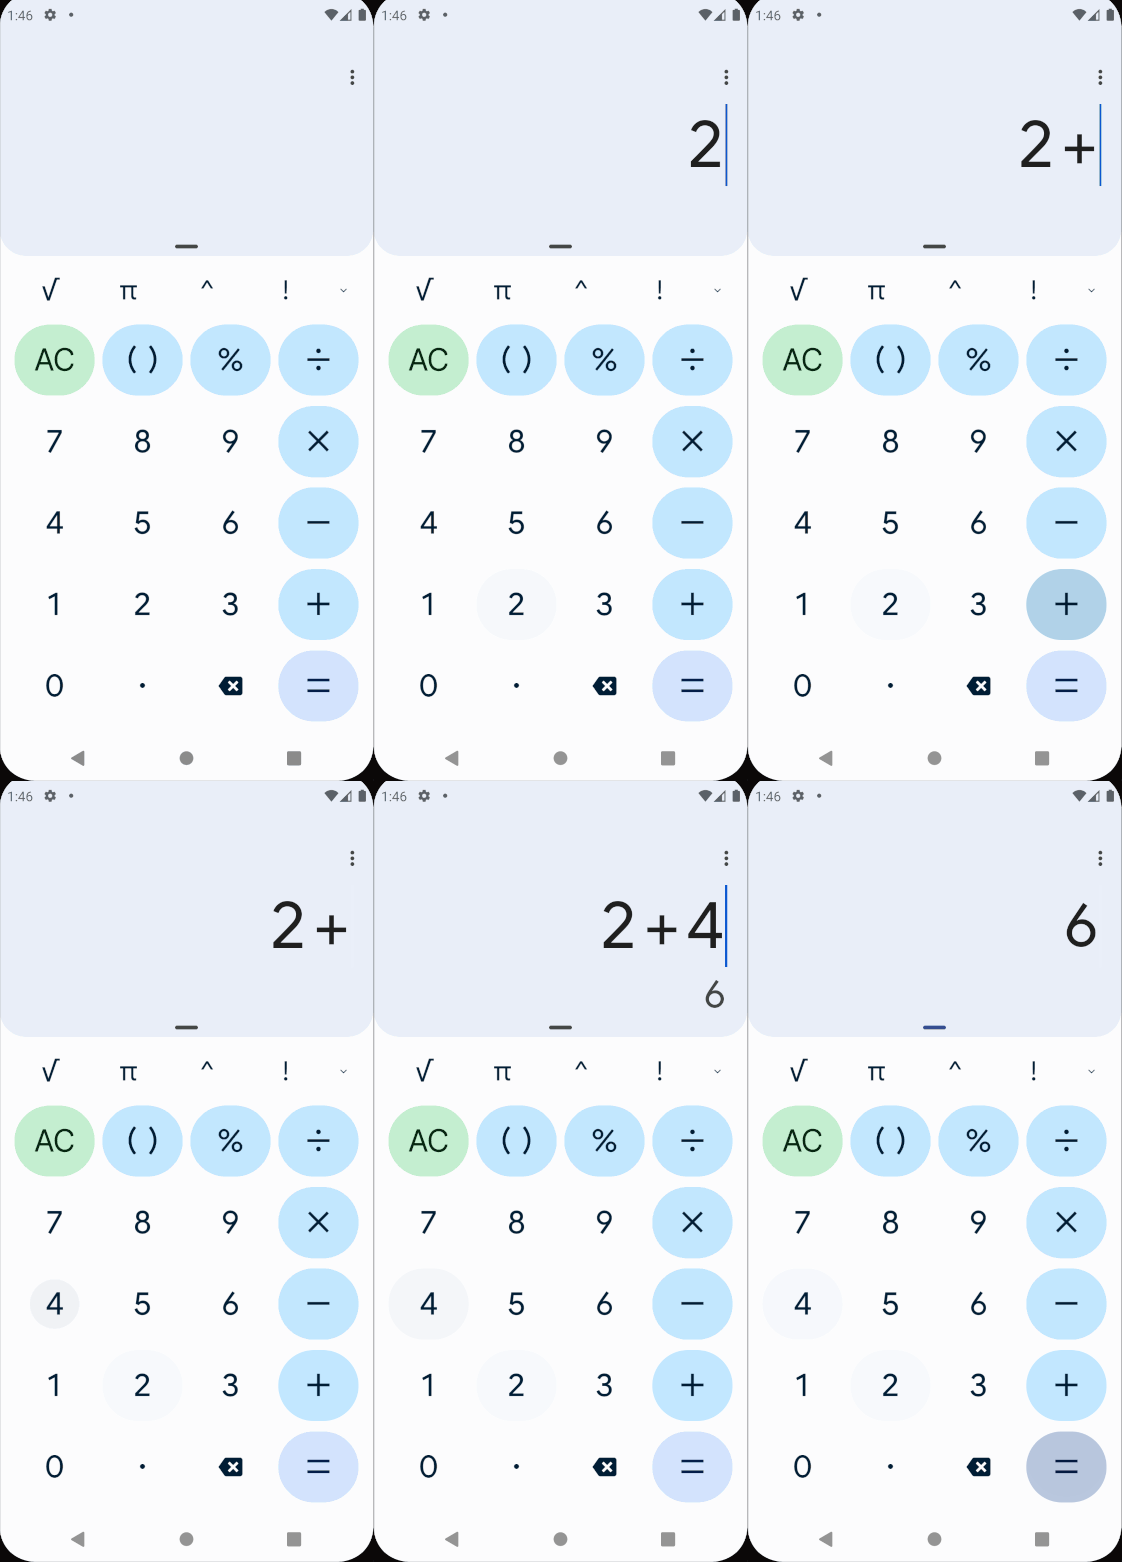
Assume that we want run a calculation 2+4=
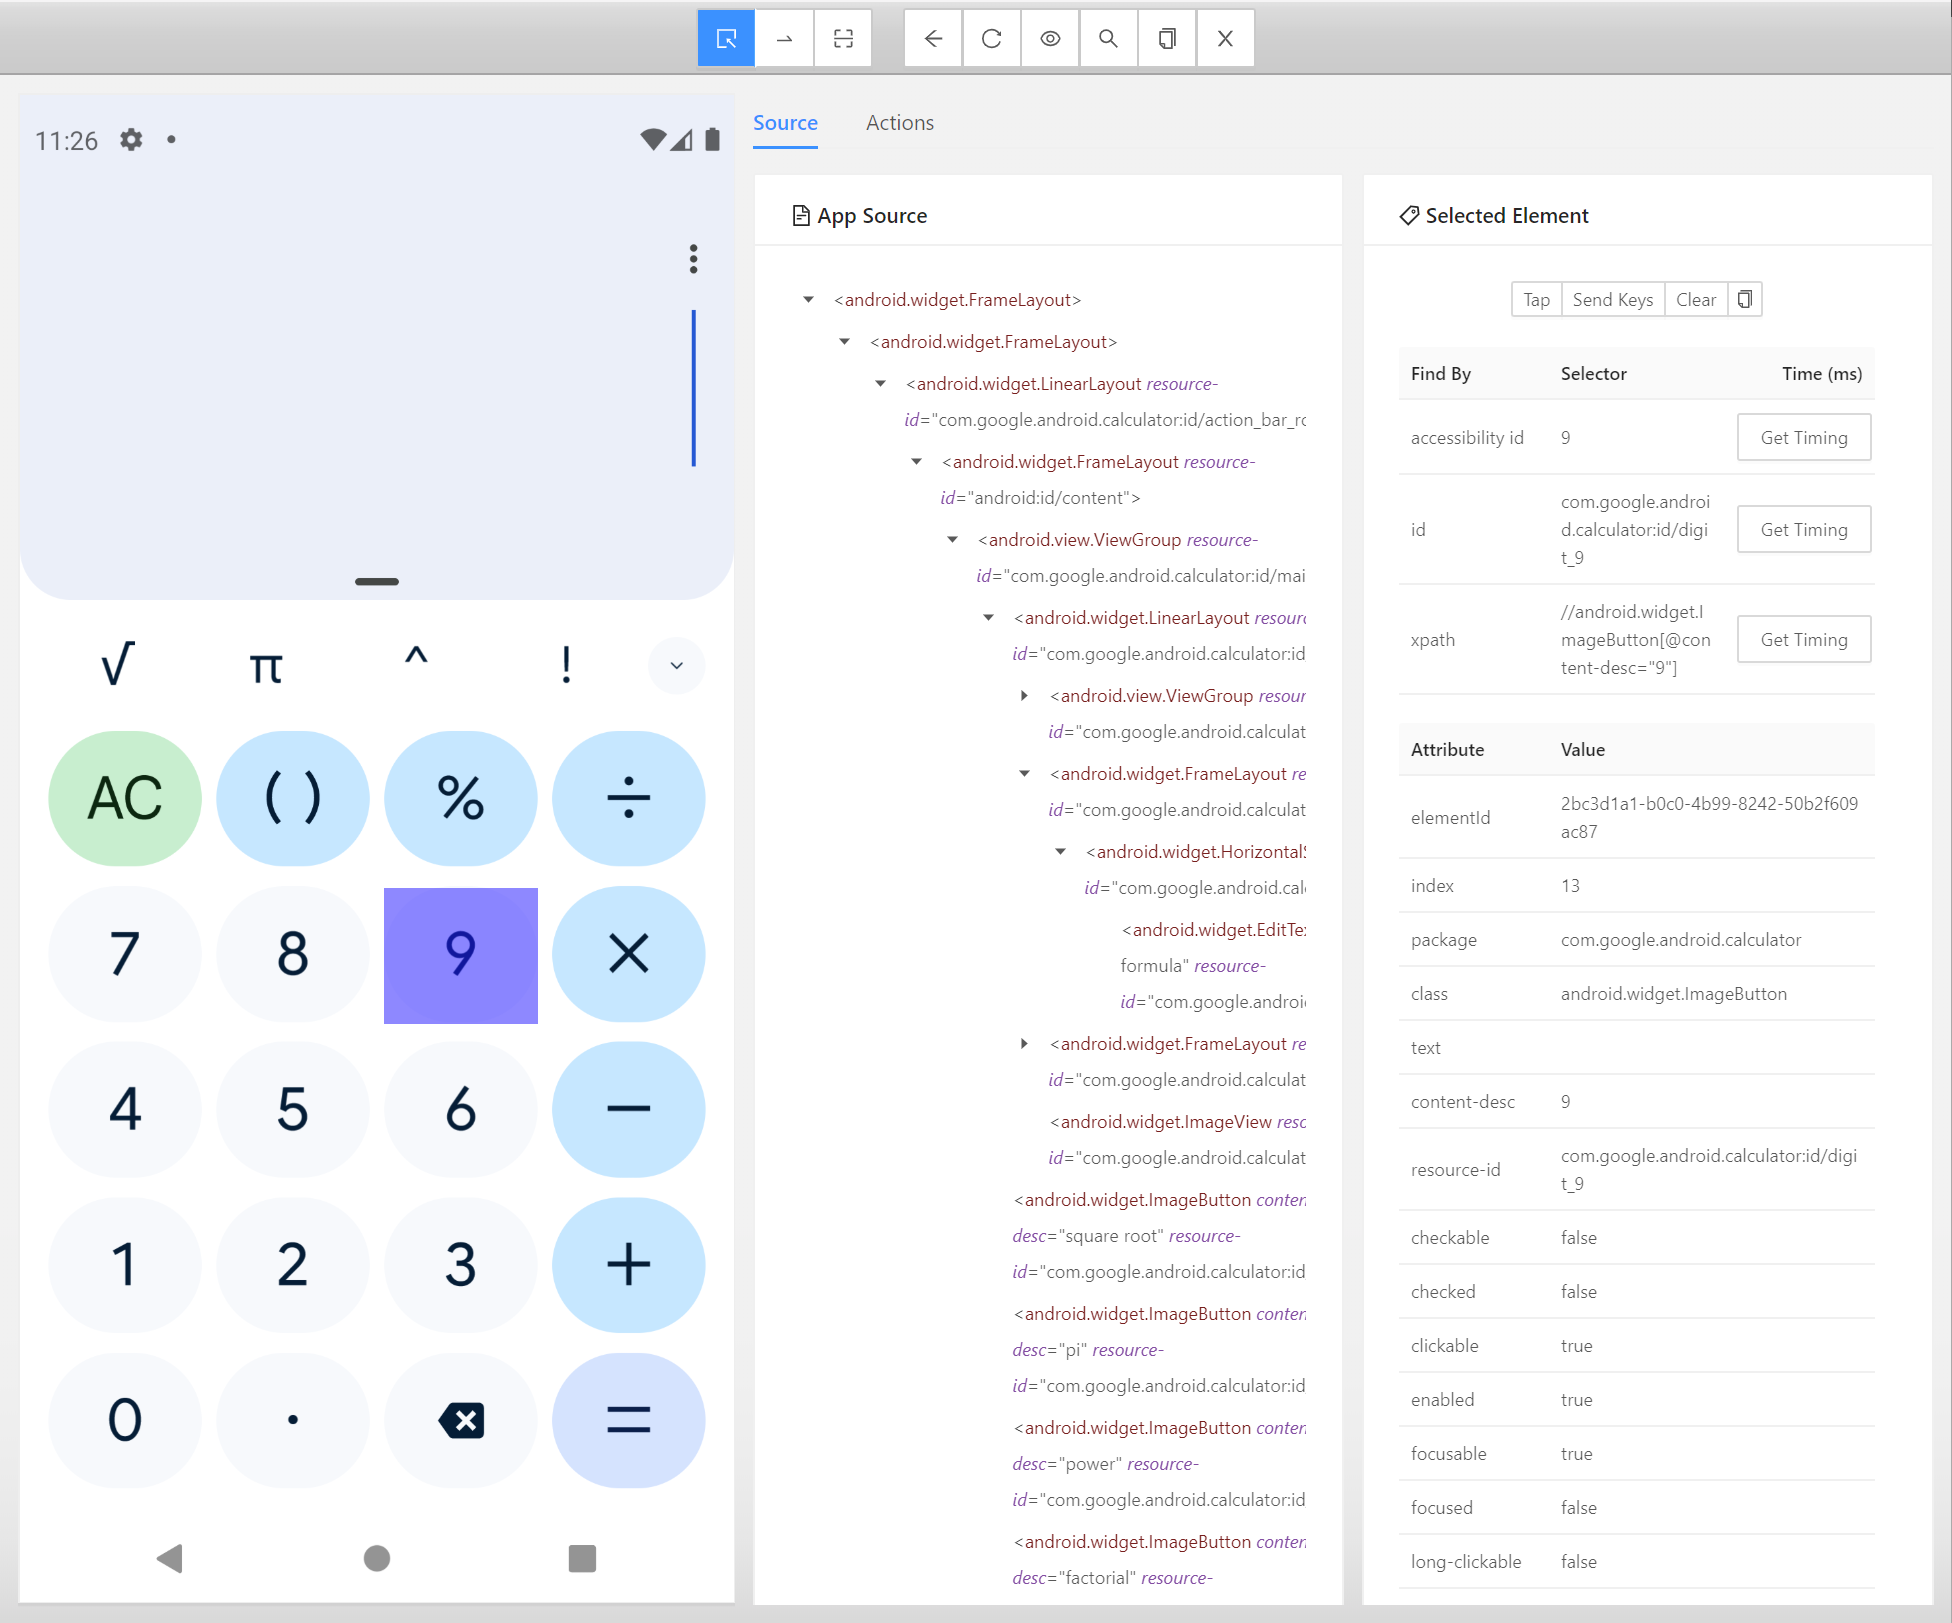
The Selected Element pane would show the details of the element that has just been selected. The pane has 3 buttons at the top – Tap, Send Keys and Clear. All these three buttons can be used to perform actions on the mobile app.

Select the number TWO this will be highlighted. Press the Tap
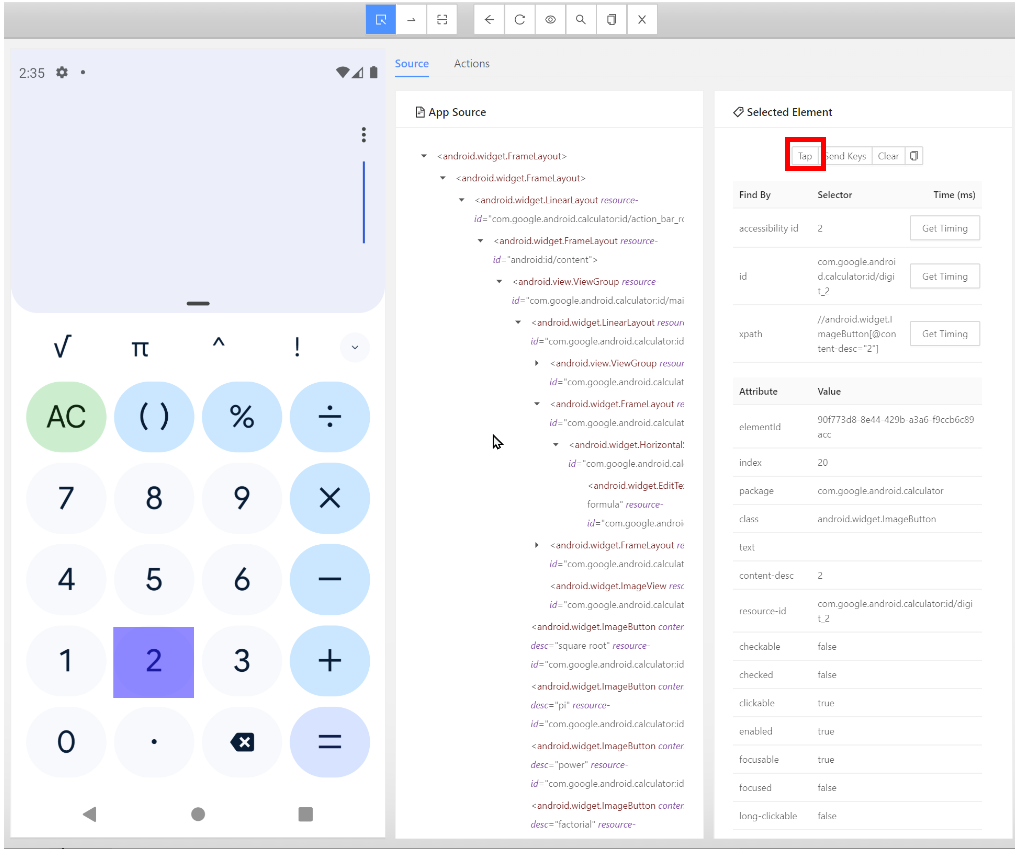
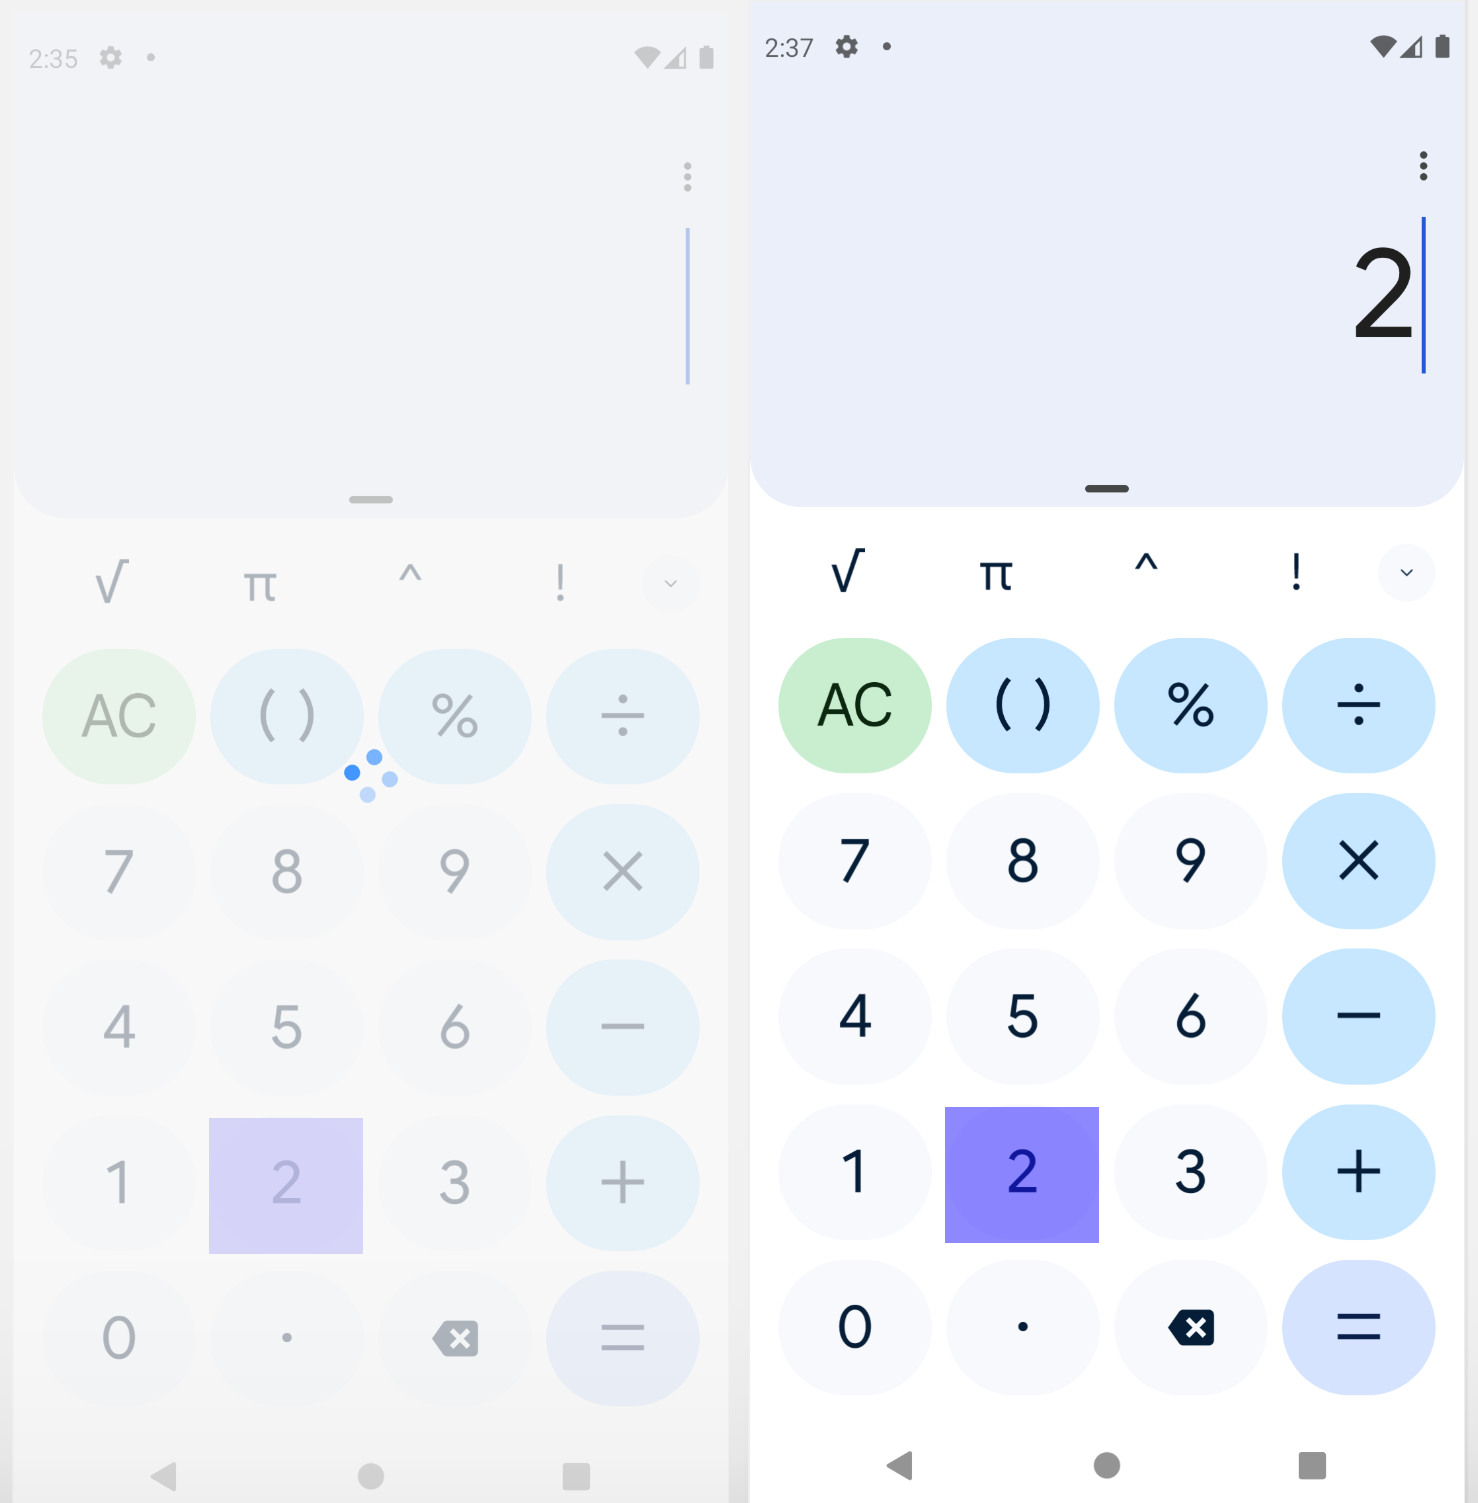
Screen will start getting refreshed. And after a few seconds, it will show the TWO.
This will also appear on the mobile device.
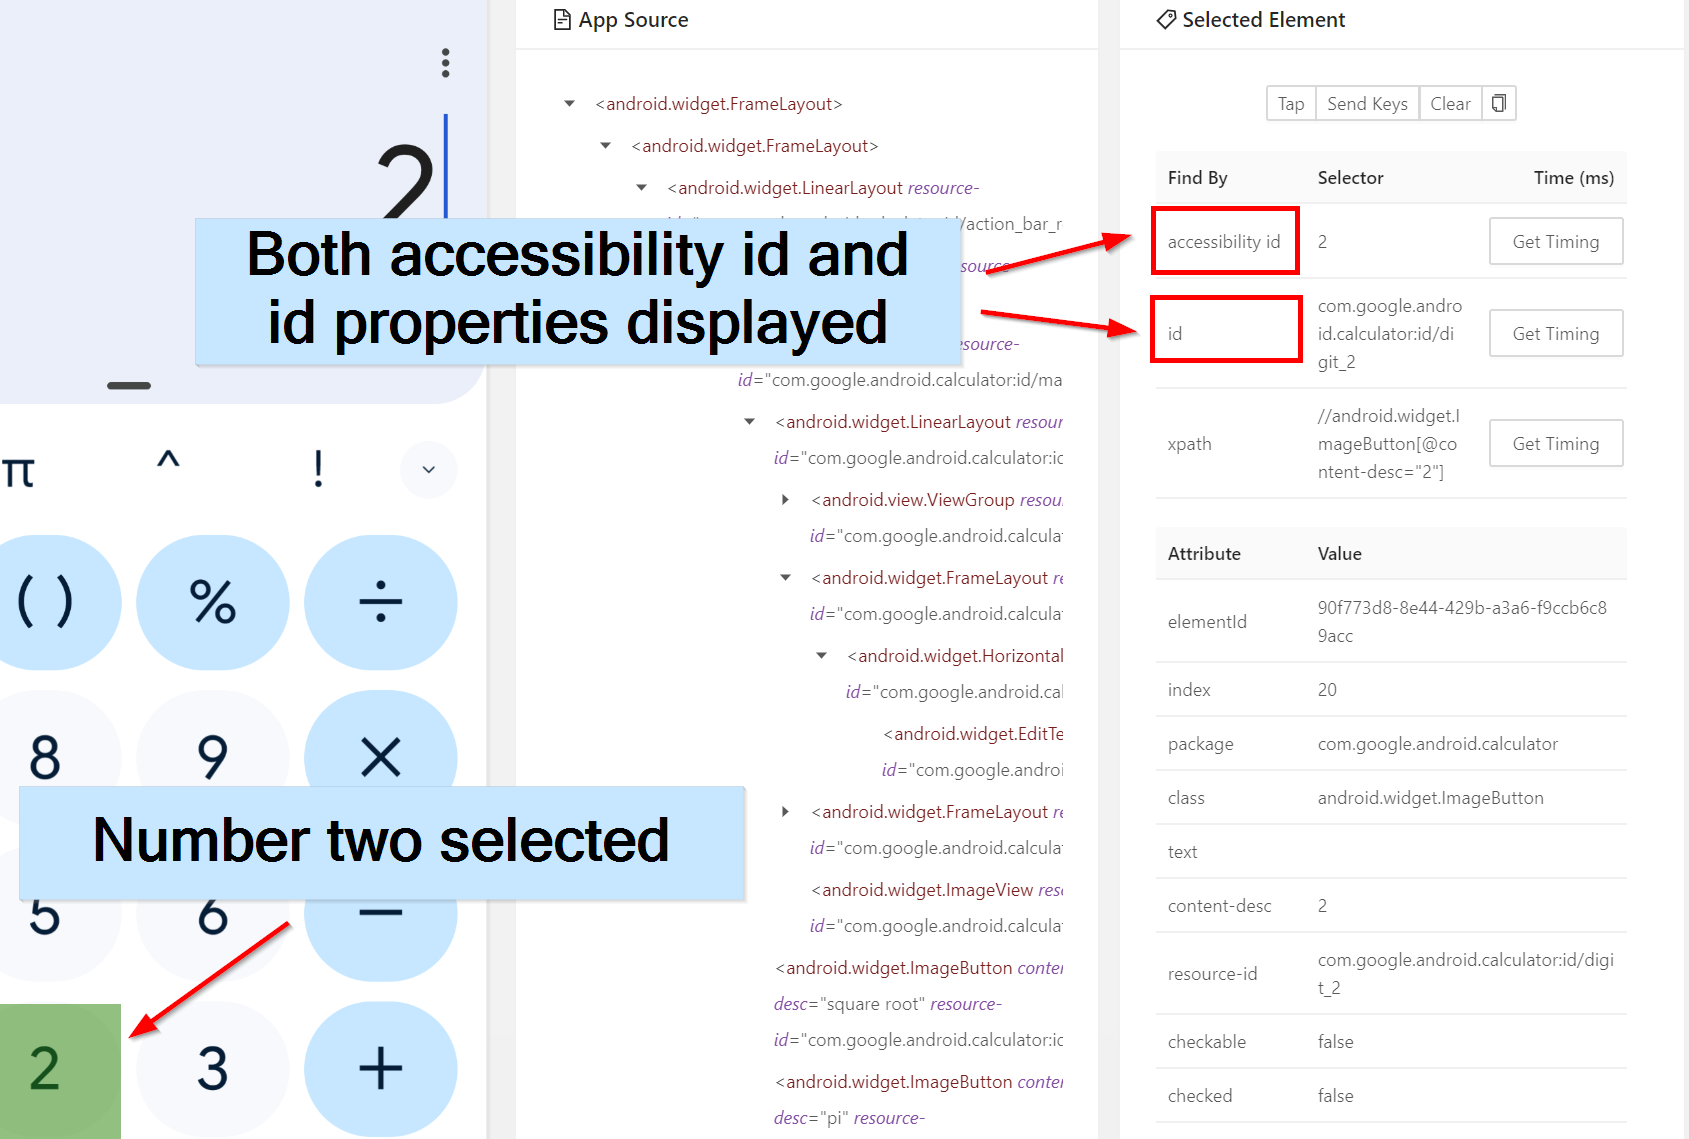
Both the accessibility id, id properties and Xpath of the elements are shown.
Appium Desktop Inspector shows Find By ids at the top
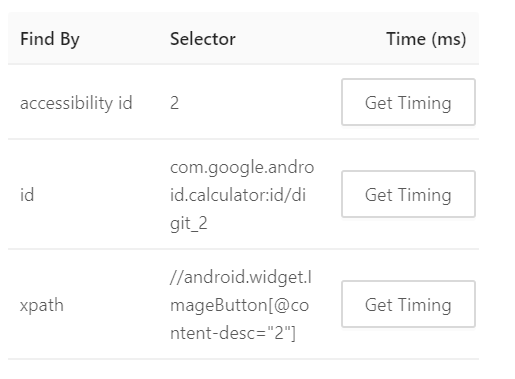
We will use the ID for this app com.google.android.calculator:id/digit_2 as the XPath is not recommended in some cases.
Repeat the steps for all the keys or actions we want to complete.
The following Element IDs will be used in our script. You will have to select each element and inspect it.
com.google.android.calculator:id/digit_2
com.google.android.calculator:id/op_add
com.google.android.calculator:id/digit_4
com.google.android.calculator:id/eq
com.google.android.calculator:id/result_final
Sometimes we will not get an ID and have to use XPath or other methods like Swipe and Tap at the top of the page.
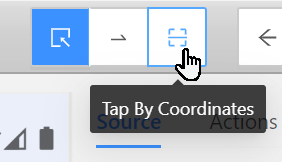
Try different parts of the navigation bar 
Refresh source screen is useful and Quit Session.
The most useful tool on the navigation bar is the Record.
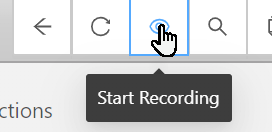
This can give you hints to the code used for different languages. We are focused on python and will look at this.
Basic Code Snippet
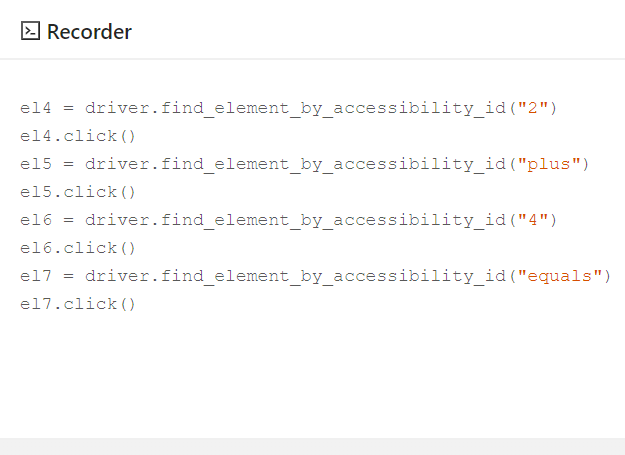
Text Output:
el4 = driver.find_element_by_accessibility_id("2")
el4.click()
el5 = driver.find_element_by_accessibility_id("plus")
el5.click()
el6 = driver.find_element_by_accessibility_id("4")
el6.click()
el7 = driver.find_element_by_accessibility_id("equals")
el7.click()
Select the Boilerplate Code

# This sample code uses the Appium python client
# pip install Appium-Python-Client
# Then you can paste this into a file and simply run with Python

from appium import webdriver

caps = {}
caps["deviceName"] = "My Phone"
caps["udid"] = "emulator-5554"
caps["platformName"] = "Android"
caps["platformVersion"] = "11"
caps["automationName"] = "UiAutomator2"
caps["app"] = "/path-to/app/Calc.apk"
caps["noReset"] = True
caps["ensureWebviewsHavePages"] = True

driver = webdriver.Remote("http://localhost:4723/wd/hub", caps)

el4 = driver.find_element_by_accessibility_id("2")
el4.click()
el5 = driver.find_element_by_accessibility_id("plus")
el5.click()
el6 = driver.find_element_by_accessibility_id("4")
el6.click()
el7 = driver.find_element_by_accessibility_id("equals")
el7.click()

driver.quit()
find_element_by_accessibility_id is no no longer used, so this will not work in this instance, but gets the general outline of the code and is good start.
This is an older version of Appium and not sure if this is updated in newer version.Summary
This was all about identifying elements on your mobile app using Appium Desktop Inspector. Next we will use Python to code the calculation steps.
Next in the Series:
Related Posts
2023 Phoenix VMUG UserCon
Introduction: The recent 2023 Phoenix VMUG UserCon brought together some like-minded people in the field, with discussions ranging from VMware technologies to best practices for optimizing existing systems.
Read moreRed Hat User Group Insights, Ansible Automation Platform, and ITSM Integration
Introduction: This blog post aims to summarize the key takeaways from this informative workshop. At the recent Red Hat User Group workshop on Red Hat Insights, Red Hat Ansible Automation Platform, and their integration with management (ITSM) systems, such as ServiceNow, provided valuable insights into how these technologies work together.
Read moreRobocopy Examples
Robocopy Examples Robocopy has many command line options and it can be overwhelming to know which commands to use. In this post, we will take a look at how to ues robocopy to copy, mirror, purge Files and Folders.
Read more