Getting Started with Hugo
Hugo static HTML and CSS website generator
Hugo is a static HTML and CSS website generator written in Go and edited in markdown. It is optimized for speed, ease of use, and configurability. Hugo takes a directory with content and templates and renders them into a full HTML website. With its amazing speed and flexibility, Hugo makes building websites fun again.
Learn more on GitHub. Complete documentation is available at Hugo Documentation.
Step 1. Install Hugo
Go to Hugo releases and download the appropriate version for your OS and architecture.
Save it somewhere specific as we will be using it in the next step.
More complete instructions are available at Install Hugo
Step 2. Build the Docs
Hugo has its own example site which happens to also be the documentation site you are reading right now.
Follow the following steps:
- Clone the Hugo repository
- Go into the repo
- Run hugo in server mode and build the docs
- Open your browser to http://localhost:1313
Corresponding pseudo commands:
git clone https://github.com/spf13/hugo
cd hugo
/path/to/where/you/installed/hugo server --source=./docs
> 29 pages created
> 0 tags index created
> in 27 ms
> Web Server is available at http://localhost:1313
> Press ctrl+c to stop
Once you’ve gotten here, follow along the rest of this page on your local build.
Step 3. Change the docs site
Stop the Hugo process by hitting Ctrl+C.
Now we are going to run hugo again, but this time with hugo in watch mode.
/path/to/hugo/from/step/1/hugo server --source=./docs --watch
> 29 pages created
> 0 tags index created
> in 27 ms
> Web Server is available at http://localhost:1313
> Watching for changes in /Users/spf13/Code/hugo/docs/content
> Press ctrl+c to stop
Open your favorite editor and change one of the source content pages. How about changing this very file to fix the typo. How about changing this very file to fix the typo.
Content files are found in docs/content/. Unless otherwise specified, files
are located at the same relative location as the url, in our case
docs/content/overview/quickstart.md.
Change and save this file.. Notice what happened in your terminal.
> Change detected, rebuilding site
> 29 pages created
> 0 tags index created
> in 26 ms
Refresh the browser and observe that the typo is now fixed.
Notice how quick that was. Try to refresh the site before it’s finished building.
Having nearly instant feedback enables you to have your creativity flow without waiting for long builds.
Step 4. Have fun
The best way to learn something is to play with it.
Related Posts

2023 Phoenix VMUG UserCon
Introduction: The recent 2023 Phoenix VMUG UserCon brought together some like-minded people in the field, with discussions ranging from VMware technologies to best practices for optimizing existing systems.
Read more
Red Hat User Group Insights, Ansible Automation Platform, and ITSM Integration
Introduction: This blog post aims to summarize the key takeaways from this informative workshop. At the recent Red Hat User Group workshop on Red Hat Insights, Red Hat Ansible Automation Platform, and their integration with management (ITSM) systems, such as ServiceNow, provided valuable insights into how these technologies work together.
Read more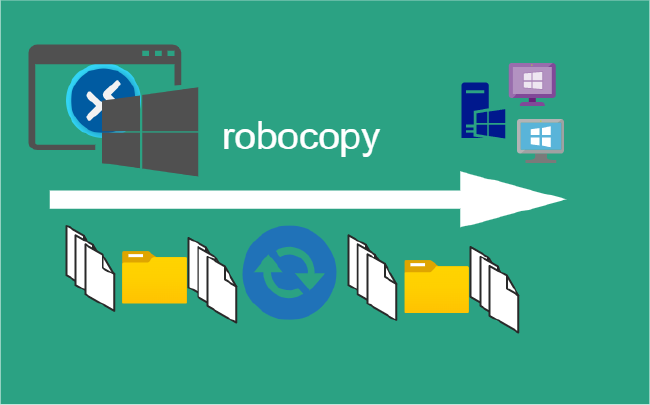
Robocopy Examples
Robocopy Examples Robocopy has many command line options and it can be overwhelming to know which commands to use. In this post, we will take a look at how to ues robocopy to copy, mirror, purge Files and Folders.
Read more