How to use a Raspberry PI 4 as a Network Sensor with Zeek and Rita
How to use a Raspberry PI 4 as a Network Sensor with Zeek and Rita

The original idea can be found at the following:
Modification to this setup can be found on my git repo: rita-zeek-rpi4
Ideas based on How to use a Raspberry PI as a Network Sensor
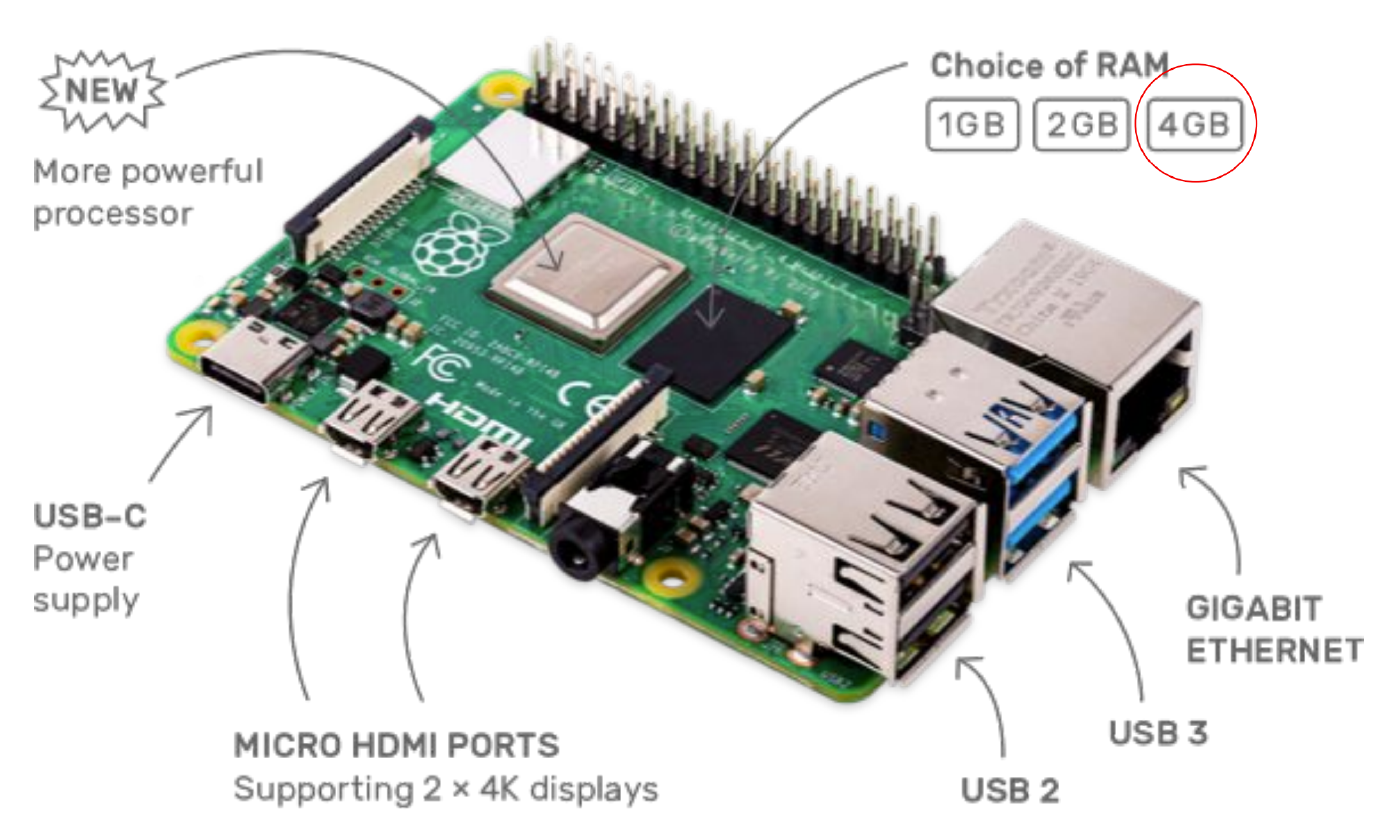
Inspired by Bill Stearns How to use a Raspberry PI as a Network Sensor intial thoughts was that RITA will not run on RPi Rasbian OS as it appears to need MongoDB 64bit. Going to attempt to try to run Ubuntu 18.04 LTS RPi 4 Modle B 4GB.
Scope
- Run in headless mode
- No GUI assuming will save on resources
Ubuntu Setup
Installation
Folow these steps: Install Ubuntu Server 20.04 LTS on Raspberry Pi 4 in Headless Mode and SSH Into It or these Install Ubuntu on Raspberry Pi
Download 18.04 server image ubuntu-18.04.5-preinstalled-server-arm64+raspi4.img.xz to substitute the others mentioned in the articales
Updates
sudo apt update && sudo apt upgrade -y
ERROR:
E: Could not get lock /var/lib/dpkg/lock-frontend - open (11: Resource temporarily unavailable)
E: Unable to acquire the dpkg frontend lock (/var/lib/dpkg/lock-frontend), is another process using it?
FIX ERROR:
- Stop the automatic updater.
sudo dpkg-reconfigure -plow unattended-upgrades
At the first prompt, choose not to download and install updates.
reboot
- Make sure any packages in an unclean state are installed correctly.
sudo dpkg --configure -a
- Get your system up-top-date.
sudo apt update && sudo apt -f install && sudo apt full-upgrade
- Turn the automatic updater back on or not.
sudo dpkg-reconfigure -plow unattended-upgrades
Select the package unattended-upgrades again.
OR
$ sudo fuser -v /var/lib/dpkg/lock-frontend
                     USER        PID ACCESS COMMAND
/var/lib/dpkg/lock-frontend:
                     root       2112 F.... unattended-upgr

$ ps aux | grep 2112
root      2112 66.5  8.1 366108 113508 ?       Sl   13:03   0:28 /usr/bin/python3 /usr/bin/unattended-upgrade --download-only

$ dpkg -S /usr/bin/unattended-upgrade
unattended-upgrades: /usr/bin/unattended-upgrade
sudo kill -KILL 2112
sudo apt install -f
sudo dpkg --configure -a
sudo apt-purge unattended-upgrades
Hostname
sudo hostnamectl set-hostname urhostname
sudo reboot now
Referance: Ubuntu 18.04: Disable Netplan switch back to networking /etc/network/interfaces
Configure a network interface into promiscuous mode
Note: On 18.04, we install networkd-dispatcher (see https://netplan.io/faq#use-pre-up-po...c-hook-scripts) which will allow you to run any further command you might need to finish the configuration of services / interfaces. That should allow you to make sure ‘ip link set ens192 promisc on’ will persist across a reboot.
Setup & Install ifupdown
Install
Install the ifupdown package and resolvconf
sudo apt-get update
sudo apt-get install -y ifupdown resolvconf
Setup ifupdown
Replace configuration files Delete all of the Netplan configuration files:
sudo rm -rf /etc/netplan/*.yml or back it up until up and running cp /etc/netplan/50-cloud-init.yaml /etc/netplan/50-cloud-init.yaml.bak
Open the file /etc/network/interfaces and copy and paste the following:
# The loopback network interface
auto lo
iface lo inet loopback

# Mirror
auto eth0
iface eth0 inet manual
  up ifconfig 0.0.0.0 up
  up ip link set eth0 promisc on
  down ip link set eth0 promisc off
  down ip link set eth0 down

# Mgmt
allow-hotplug eth1
auto eth1
iface eth1 inet static
  address 192.168.1.30
  netmask 255.255.255.0
  broadcast 192.168.1.255
  gateway 192.168.1.1
  dns-nameservers 192.168.1.1 8.8.8.8

source /etc/network/interfaces.d/*.cfg
Setup resolv.conf
Find out whether /etc/resolv.conf is a static file or symlink by the following command:
$ ls -l /etc/resolv.conf

 /etc/resolv.conf -> ../run/resolvconf/stub-resolv.conf
Need to remove the symlink between /etc/resolv.conf and stub-resolv.conf
Issue the following command to change the symlink /etc/resolv.conf to point default dns server 192.168.1.1 instead of 127.0.0.53.
sudo ln -sf /run/systemd/resolve/resolv.conf /etc/resolv.conf

ls -l /etc/resolv.conf
Reboot
reboot
Promiscuous Mode
Enable promiscuous mode:
sudo ifconfig eth0 promisc
Validate mode insabled:
ip -d link show eth0
2: eth0: mtu 1500 qdisc mq state UP mode DEFAULT group default qlen 1000
link/ether 14:fe:b5:d5:51:9e brd ff:ff:ff:ff:ff:ff promiscuity 1 addrgenmode eui64 numtxqueues 8 numrxqueues 8 gso_max_size 65536 gso_max_segs 65535
promiscuity 1 means that the interface is in promiscuous mode
promiscuity 0 means that the interface is not in promiscuous mode
netstat -i
Kernel Interface table
Iface   MTU Met   RX-OK RX-ERR RX-DRP RX-OVR    TX-OK TX-ERR TX-DRP TX-OVR  Flg
eth0       1500 0     26631      0      0 0         27143      0      0      0 BMPR
Disable promiscuous mode
sudo ifconfig eth0 -promisc
sudo tail -f /var/log/syslog
kernel: [ 2155.176013] device eth0 left promiscuous mode

netstat -i
Kernel Interface table
Iface   MTU Met   RX-OK RX-ERR RX-DRP RX-OVR    TX-OK TX-ERR TX-DRP TX-OVR Flg
eth0       1500 0     29172      0      0 0         29850      0      0      0 BMRU
Enable /etc/rc.local on Systemd
sudo systemctl status rc-local
Enable /etc/rc.local
Note: Starting with 16.10, Ubuntu doesn’t ship with /etc/rc.local file anymore. You can create the file by executing this command.
You may get this output:
● rc-local.service - /etc/rc.local Compatibility
 Loaded: loaded (/lib/systemd/system/rc-local.service; static; vendor preset: enabled)
 Active: failed (Result: exit-code) since Thu 2015-11-26 23:54:58 CST; 59s ago
 Process: 1001 ExecStart=/etc/rc.local start (code=exited, status=1/FAILURE)
....
....
....
Output my very, but might not get anything.
Solution
create a file:
sudo vim /etc/systemd/system/rc-local.service
Add content to it.
[Unit]
 Description=/etc/rc.local Compatibility
 ConditionPathExists=/etc/rc.local

[Service]
 Type=forking
 ExecStart=/etc/rc.local start
 TimeoutSec=0
 StandardOutput=tty
 RemainAfterExit=yes
 SysVStartPriority=99

[Install]
 WantedBy=multi-user.target
Run the following command to make sure /etc/rc.local file is executable.
sudo chmod +x /etc/rc.local
Might need to create /etc/rc.local create the file by executing this command.
printf '%s\n' '#!/bin/bash' 'exit 0' | sudo tee -a /etc/rc.local
Execute permission to /etc/rc.local file.
sudo chmod +x /etc/rc.local
Enable the service on system boot:
sudo systemctl enable rc-local
Output:
Created symlink from /etc/systemd/system/multi-user.target.wants/rc-local.service to /etc/systemd/system/rc-local.service.
start the service and check its status:
sudo systemctl start rc-local.service
sudo systemctl status rc-local.service
``

Output:

```sh
● rc-local.service - /etc/rc.local Compatibility
 Loaded: loaded (/etc/systemd/system/rc-local.service; enabled; vendor preset: enabled)
 Active: active (running) since Fri 2015-11-27 00:32:56 CST; 14min ago
 Process: 879 ExecStart=/etc/rc.local start (code=exited, status=0/SUCCESS)
 Main PID: 880 (watch)
 CGroup: /system.slice/rc-local.service
Final output:
#!/bin/bash

#ethtool command to reduce processing at eth0
ethtool -K eth0 gro off rx off tx off gso off
mkdir -p /opt/bro/pcaps

screen -S capture -t capture -d -m bash -c "nice -n 15 tcpdump -i eth0 -G 3600 -w '/opt/bro/pcaps/'`hostname -s`'.%Y%m%d%H%M%S.pcap' -z bzip2 '(tcp[13] & 0x17 != 0x10) or not tcp'"

ip link set eth0 promisc on
/usr/local/zeek/bin/zeekctl start


exit 0
Note: ethtool has a fixed parameter for
large-receive-offload, so needed to edit this in therc.local
fixed parameter like large-receive-offload:
sudo ethtool -K eth0 lro on
Cannot change large-receive-offload
Could not change any device features
ethtool -k eth0 | grep large-receive-offload
large-receive-offload: off [fixed]
Referance: How to Enable /etc/rc.local with Systemd
Zeek IDS Installation on Raspberry PI
Downloading and installing pre-requisites to Zeek from source
sudo apt-get install cmake make gcc g++ flex bison libpcap-dev libssl-dev python-dev swig zlib1g-dev
Addtional Packages
sudo apt-get install libmaxminddb-dev postfix curl git
Download and Install Zeek From git Source
git clone --recursive https://github.com/zeek/zeek
cd zeek
./configure
make
If everything goes right and no issues
sudo make install
Set the PATH
export PATH=/usr/local/zeek/bin:$PATH
vim ~/.profile
export PATH=/usr/local/zeek/bin:$PATH
Setting up Zeek
All the Zeek files should be installed in /usr/local/zeek
Edit /usr/local/zeek/etc/node.cfg to set the interface to monitor; usually interface eth0
[zeek]
type=standalone
host=localhost
interface=eth0
Edit /usr/local/zeek/networks.cfg to add the IP addresses and short descriptions of your different routed networks. For example:
10.0.0.0/8 Private IP space
172.16.0.0/12 Private IP space
192.168.0.0/16 Private IP space
Edit /usr/local/zeek/etc/zeekctl.cfg and set the
Edit /usr/local/zeek/etc/zeekctl.cfg and set the
MailTo = blah@blah.com
Replace to your email address to receive reports from your Zeek instance and set the LogRotationInterval to the log archiving frequency.
Starting up Zeek
Start the Zeek control shell with
zeekctl
On the first time use – we need to do the initial installation
[ZeekControl] > install
Then to start the zeek process
[ZeekControl] > start
I also like using
[ZeekControl] > deploy
to refresh settings when starting
To stop the Zeek process
[ZeekControl] > stop
Other commands in zeekctl are available with the ? notation
Also check
/usr/local/zeek/logs/current
for the latest log files and
/var/log/mail.log
to troubleshoot Zeek e-mail reports to your e-mail address.
Add the following to /etc/rc.local file before the exit 0 line. IDS functionality is better with promiscuous mode on for the network interface. This will forward all packets to the CPU and not just the ones destined for the host.
ip link set eth0 promisc on
/usr/local/zeek/bin/zeekctl start

exit 0
Zeek needs to occasionally perform some scheduled maintenance:
crontab -e
(select an editor and enter the following line)
 */5 * * * * /usr/local/zeek/bin/zeekctl
Changing the log file format for better ingestion
The best way for external software to ingest your zeek logs is to convert them to JSON format. In the original config, Zeek creates human readable text tables for each kind of log file created in /usr/local/zeek/logs/current such as:
 cat capture_loss.log
#separator \x09
#set_separator  ,
#empty_field    (empty)
#unset_field    -
#path   capture_loss
#open   2019-08-31-02-04-06
#fields ts      ts_delta        peer    gaps    acks    percent_lost
#types  time    interval        string  count   count   double
1567213446.308621       900.000053      zeek    0       0       0.0
Edit /usr/local/zeek/share/zeek/site/local.zeek;
Add the following to the end of the file;
#JSON Output
@load policy/tuning/json-logs.zeek
Save and close the site file;
From the command-line restart zeek as the configuration has changed.
zeekctl deploy
Check to make sure your logs are now in JSON format.
 cat /usr/local/zeek/logs/current/packet_filter.log
{"ts":1567213927.478291,"node":"zeek","filter":"ip or not ip","init":true,"success":true}
Referance: Zeek IDS Installation on Raspberry PI Part 1
Installing MongoDB to the Raspberry Pi
1. Upgrade all existing packages by running the command below.
sudo apt update
sudo apt upgrade
2. Install the MongoDB server from the Raspbian repository
sudo apt install mongodb
3. Start the MongoDB service.
sudo systemctl enable mongodb
sudo systemctl start mongodb
Might get error about unable to resolve host (none)”
/etc/hosts has an entry for localhost. It should have something like:
127.0.0.1    localhost.localdomain localhost
127.0.1.1    my-machine
4. Run the following command to interact with the database by using the command line.
mongo
Checking the Mongo Service and Database
1. Check the status of our MongoDB server.
sudo systemctl status mongodb
Response as we have shown below.
● mongodb.service - An object/document-oriented database
   Loaded: loaded (/lib/systemd/system/mongodb.service; enabled; vendor
   Active: active (running) since Thu 2021-02-18 01:22:45 UTC; 1h 34min
     Docs: man:mongod(1)
 Main PID: 2066 (mongod)
    Tasks: 23 (limit: 4443)
   CGroup: /system.slice/mongodb.service
           └─2066 /usr/bin/mongod --unixSocketPrefix=/run/mongodb --con
2. Check the status of Mongo itself by retrieving its connection status.
mongo --eval 'db.runCommand({ connectionStatus: 1 })'

MongoDB shell version v3.6.3
connecting to: mongodb://127.0.0.1:27017
MongoDB server version: 3.6.3
{
        "authInfo" : {
                "authenticatedUsers" : [ ],
                "authenticatedUserRoles" : [ ]
        },
        "ok" : 1
}
Referance: Installing MongoDB to the Raspberry Pi
install Golang (Go) on Raspberry Pi
Current stable version available at Golang official website is v1.16 and there is a distribution packaged for ARMv8 CPU go1.16.linux-arm64.tar.gz
wget https://golang.org/dl/go1.16.linux-arm64.tar.gz
sudo tar -C /usr/local -xzf o1.16.linux-arm64.tar.g
rm go1.12.6.linux-armv6l.tar.gz
Set PATH environment variable Golang is installed. To do that, edit the ~/.profile file:
Scroll all the way down to the end of the file and add the following:
vim ~/.profile

PATH=$PATH:/usr/local/go/bin
GOPATH=$HOME/golang
Re-load profile
source ~/.profile
which go to find out where the Golang installed and go version to see the installed version and platform.
which go
/usr/local/go/bin/go
go version
go version go1.12.6 linux/arm
Referance: install Golang (Go) on Raspberry Pi
Building RITA
Aa root build RITA from source code see addtional setps here or summary below.
git clone https://github.com/activecm/rita.gitcd ritamakemake installto install the binary to/usr/local/bin/rita
Configuring the system
RITA requires some directories to be created for it to function correctly.
sudo mkdir /etc/rita && sudo chmod 755 /etc/rita
sudo mkdir -p /var/lib/rita/logs && sudo chmod -R 755 /var/lib/rita
Copy config file RITA source code dir.
sudo cp etc/rita.yaml /etc/rita/config.yaml && sudo chmod 666 /etc/rita/config.yaml
**Test ** using the rita test-config
UserConfig:
  UpdateCheckFrequency: 14
MongoDB:
  ConnectionString: mongodb://localhost:27017
  AuthenticationMechanism: ""
  SocketTimeout: 2h0m0s
  TLS:
    Enable: false
    VerifyCertificate: false
    CAFile: ""
  MetaDB: MetaDatabase
Rolling:
  DefaultChunks: 24
  rolling: false
  currentchunk: 0
.......
.......
.......
Summary
Great way to monitor local area network with network tap on the cheap!!!

Related Posts

2023 Phoenix VMUG UserCon
Introduction: The recent 2023 Phoenix VMUG UserCon brought together some like-minded people in the field, with discussions ranging from VMware technologies to best practices for optimizing existing systems.
Read more
Red Hat User Group Insights, Ansible Automation Platform, and ITSM Integration
Introduction: This blog post aims to summarize the key takeaways from this informative workshop. At the recent Red Hat User Group workshop on Red Hat Insights, Red Hat Ansible Automation Platform, and their integration with management (ITSM) systems, such as ServiceNow, provided valuable insights into how these technologies work together.
Read more
Robocopy Examples
Robocopy Examples Robocopy has many command line options and it can be overwhelming to know which commands to use. In this post, we will take a look at how to ues robocopy to copy, mirror, purge Files and Folders.
Read more